Airflow 3 and Airflow AI SDK in Action - Analyzing League of Legends
Learn Key Airflow 3 and AI Features Through a Practical League of Legends Data Project
Apache Airflow is an open-source platform to programmatically author, schedule and monitor workflows using Python. Workflows are represented as Directed Acyclic Graphs (DAGs) and each vertex in the graph is one unit of work (task).
Often, workflows are so called Extract, Transform, Load (ETL) processes (or ELT), but in in fact, Airflow is so flexible that any kind of workflow can be implemented.
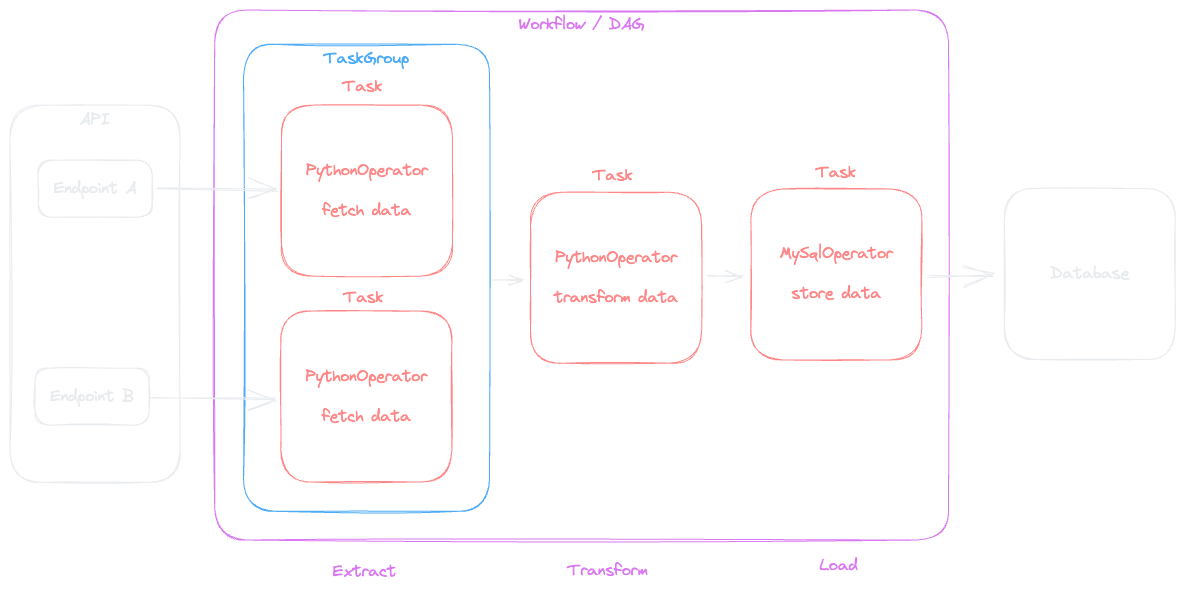
Airflow comes with a web interface which allows to manage and monitor the DAGs. Airflow has four main components:
When it comes to the database and executor, Airflow is very flexible. The SequentialExecutor for instance can be used for local development and runs one task at a time, while the CeleryExecutor or KubernetesExecutor allows for parallel execution on a cluster of worker nodes.
While typically MySQL or Postgres are used as a database, Airflow also supports SQLite as an embedded database, which makes it possible to run a lightweight setup on your local machine.
The following article describes how to run Airflow locally as well as creating a minimal DAG using the TaskFlow API. It uses the following versions:
The following command creates a folder called airflow-example which we use as a base for our project. Within this folder, we create a virtual environment with the the built-in venv module:
mkdir airflow-example
cd airflow-example
python -m venv .venvNow we activate the virtual environment, so that any dependencies we install will only be installed in the virtual environment rather than in the systems Python.
source .venv/bin/activate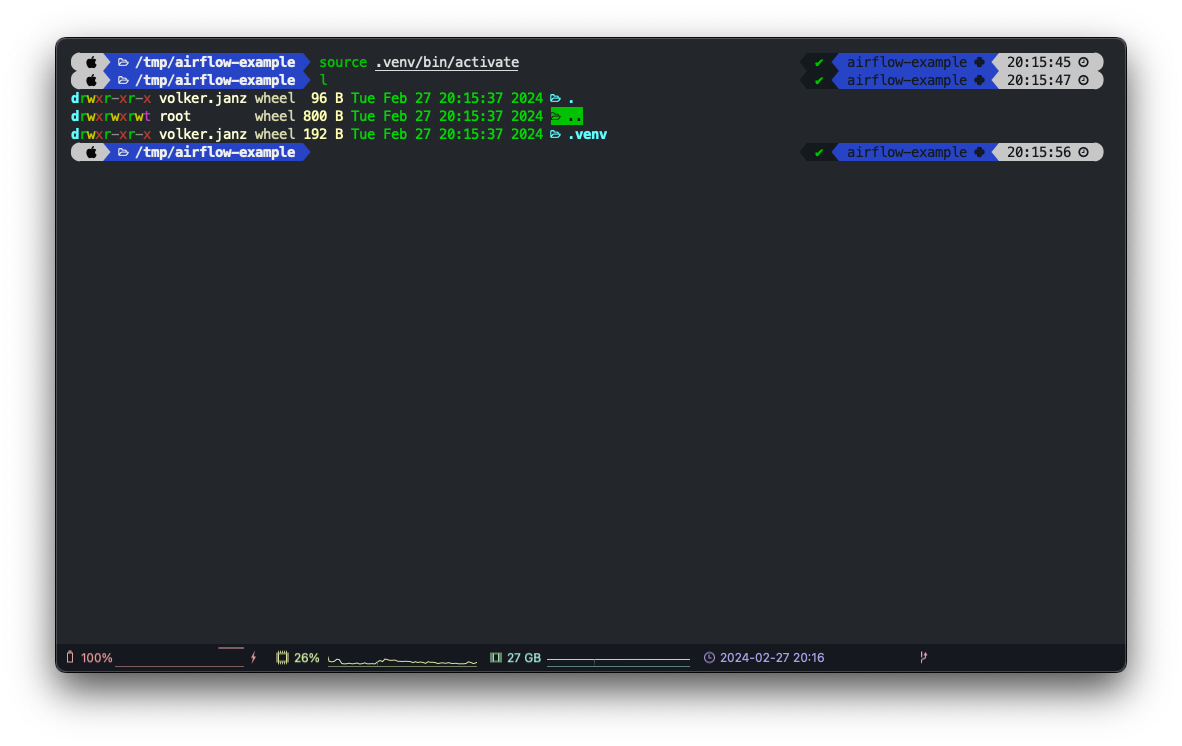
The following commands will install Airflow version 2.8.2 using pip while considering the Python version you are using (3.11.8 in my case).
AIRFLOW_VERSION=2.8.2
PYTHON_VERSION="$(python --version | cut -d " " -f 2 | cut -d "." -f 1-2)"
CONSTRAINT_URL="https://raw.githubusercontent.com/apache/airflow/constraints-${AIRFLOW_VERSION}/constraints-${PYTHON_VERSION}.txt"
pip install "apache-airflow==${AIRFLOW_VERSION}" --constraint "${CONSTRAINT_URL}"
Airflow has many optional dependencies to extend the functionality with more operators, allowing to create workflows for all kind of use-cases. The above commands will install the basics, which will still take a bit.
Airflow uses a folder called airflow on the local disc to manage some of its data, like the configuration files. Usually, this will be placed in the current users home directory. However, to avoid conflict with other projects, we will use the project folder as the basis for the airflow folder by setting the AIRFLOW_HOME environment variable accordingly.
When we first start Airflow in standalone mode, it will create the folder at the given location with a default configuration. It will use the SequentialExecutor and SQLite as a database, while storing the database file in the AIRFLOW_HOME location.
The following commands will set the AIRFLOW_HOME environment variable to a folder called airflow in current directory (which is the project directory) and start Airflow in standalone mode. We also add another environment variable called NO_PROXY to the command. This is due to a known issue on macOS, which causes a SIGSEGV when running DAGs via the Airflow web interface.
NO_PROXY="*" AIRFLOW_HOME="$(pwd)/airflow" airflow standaloneThis will not only start Airflow but also create the airflow folder in the project directory. It will also automatically create an admin user for the web interface. You should see the username and password in the log output.
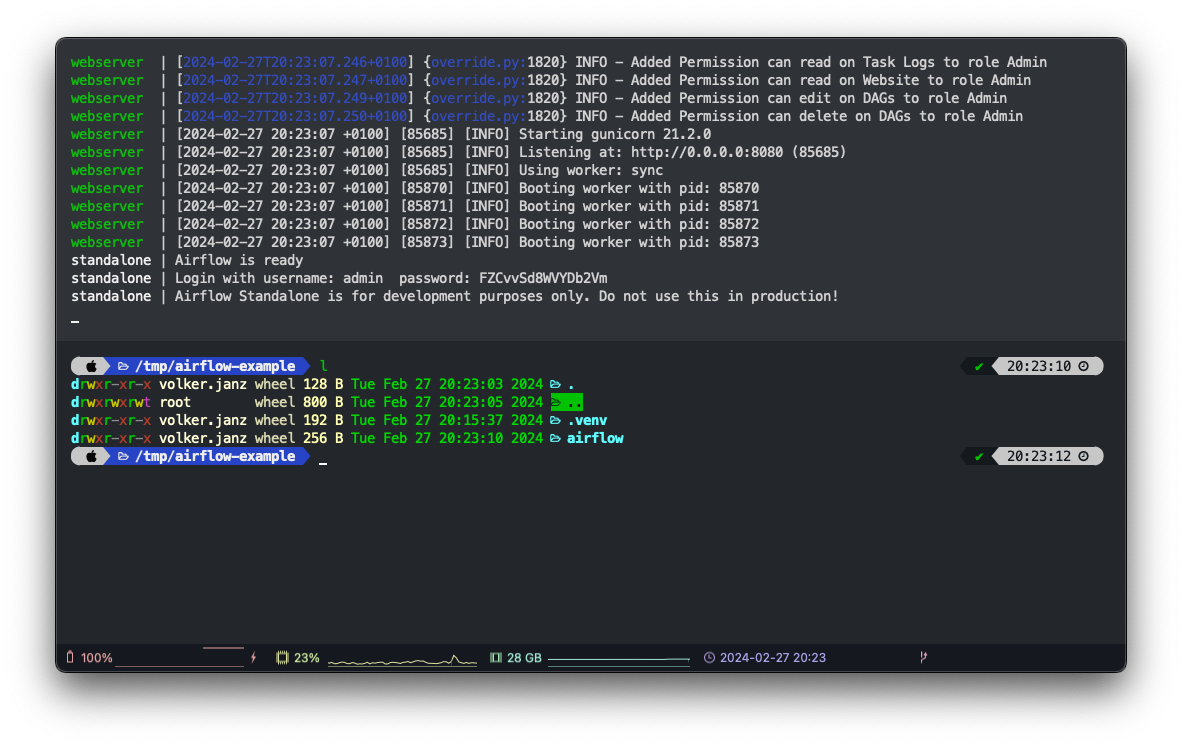
standalone | Airflow is ready
standalone | Login with username: admin  password: FZCvvSd8WVYDb2Vm
standalone | Airflow Standalone is for development purposes only. Do not use this in production!
You can now open http://localhost:8080/ in your browser and log in using the credentials from the log output.
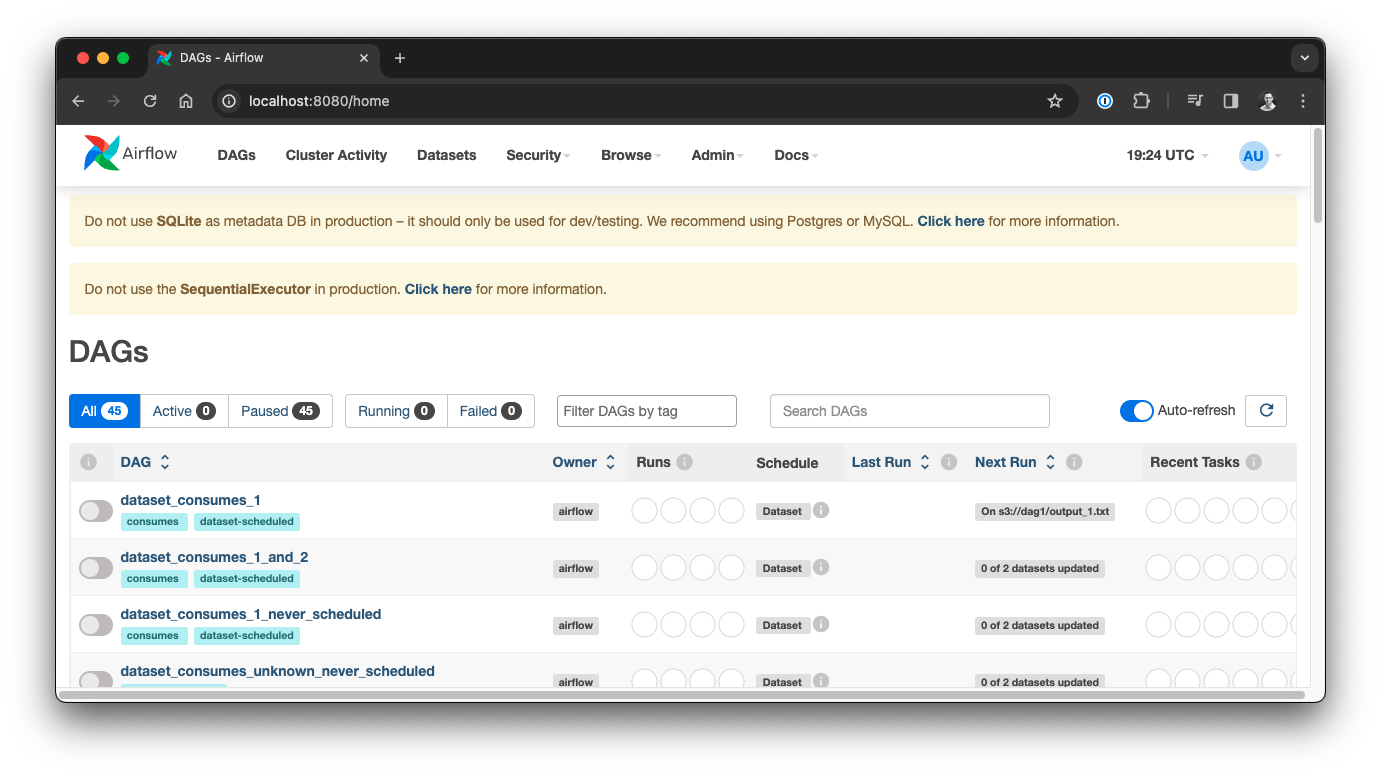
Congratulations 🎉, you have a pragmatic, local Airflow environment. The warnings in the web interface show up because you are automatically using the SequentialExecutor and a SQLite database in standalone mode, so of course this is not meant for production usage.
You can stop the standalone process with control+c.
Before we work on our first DAG, let us prepare the environment a bit more.
One thing you might have noticed: there are a bunch of example DAGs. Personally, I like to have a clean environment to start with. These examples are created on startup, when a specific configuration variable is set. So first, let’s change this part of the configuration.
Since we set the AIRFLOW_HOME variable to the airflow folder within the project folder, the location of the configuration file is airflow/airflow.cfg.
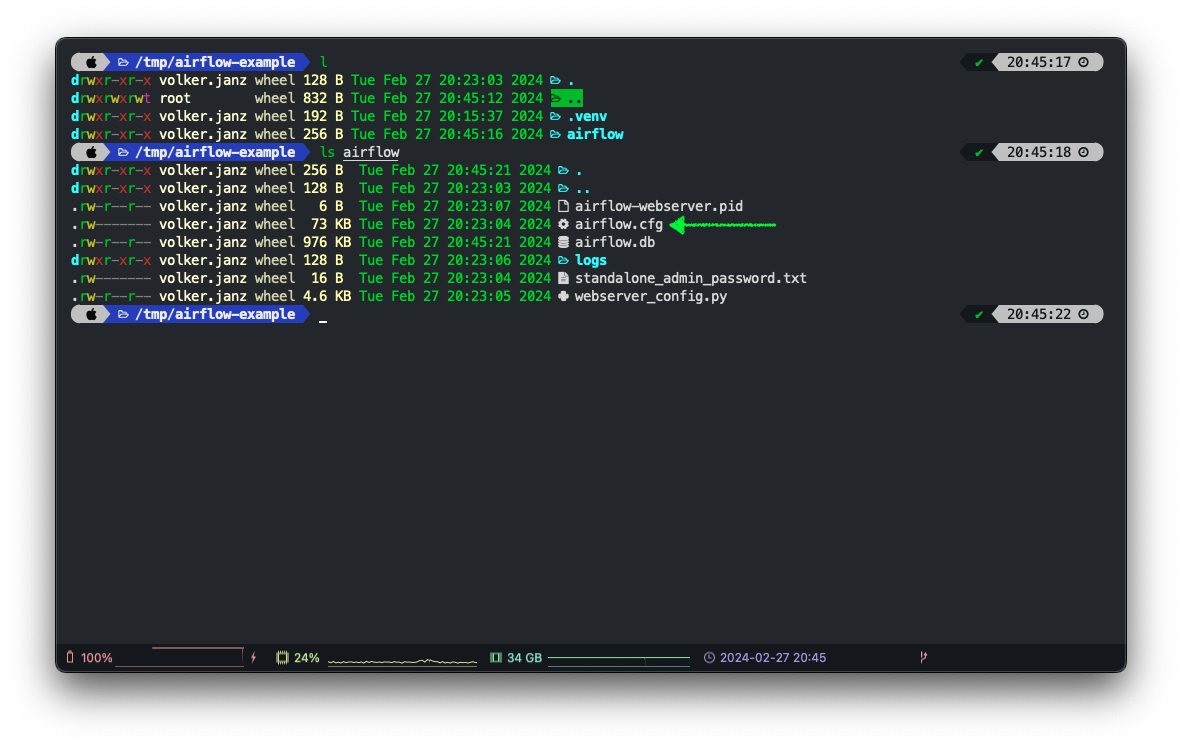
Open the configuration in your favourite editor, and change the following configuration:
load_examples = False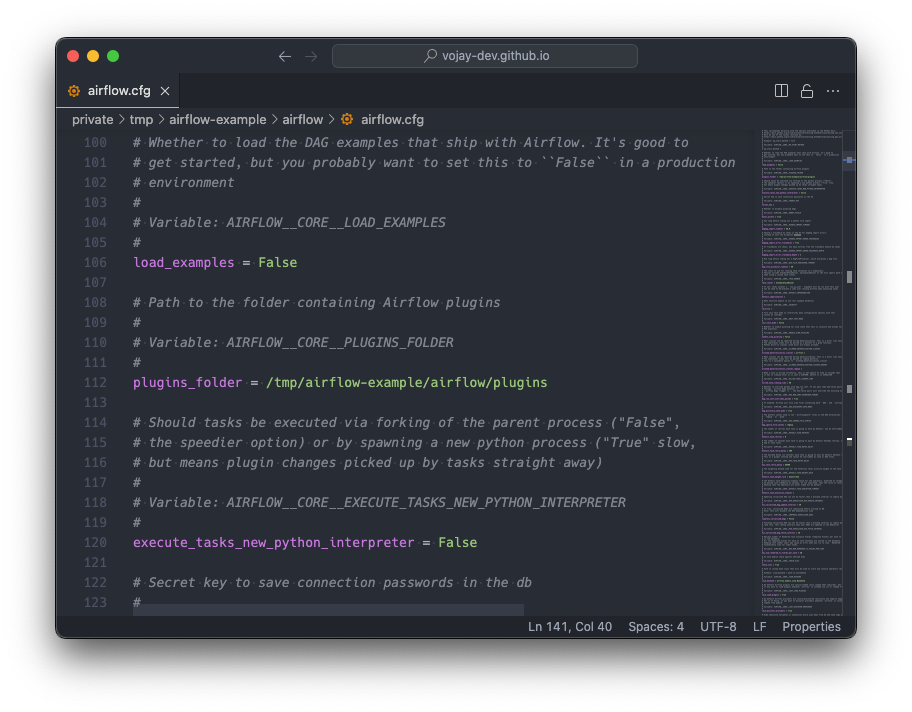
Even if you now restart the standalone process, the example DAGs may still show up as they are persisted in the database. Therefore, we also need to reset the database accordingly with the following command (ensure to activate your virtual environment first and be in the project folder).
NO_PROXY="*" AIRFLOW_HOME="$(pwd)/airflow" airflow db resetConfirm with y and afterwards start your environment again, you now have a clean state. This will generate a new admin user but no example DAGs this time.
NO_PROXY="*" AIRFLOW_HOME="$(pwd)/airflow" airflow standalone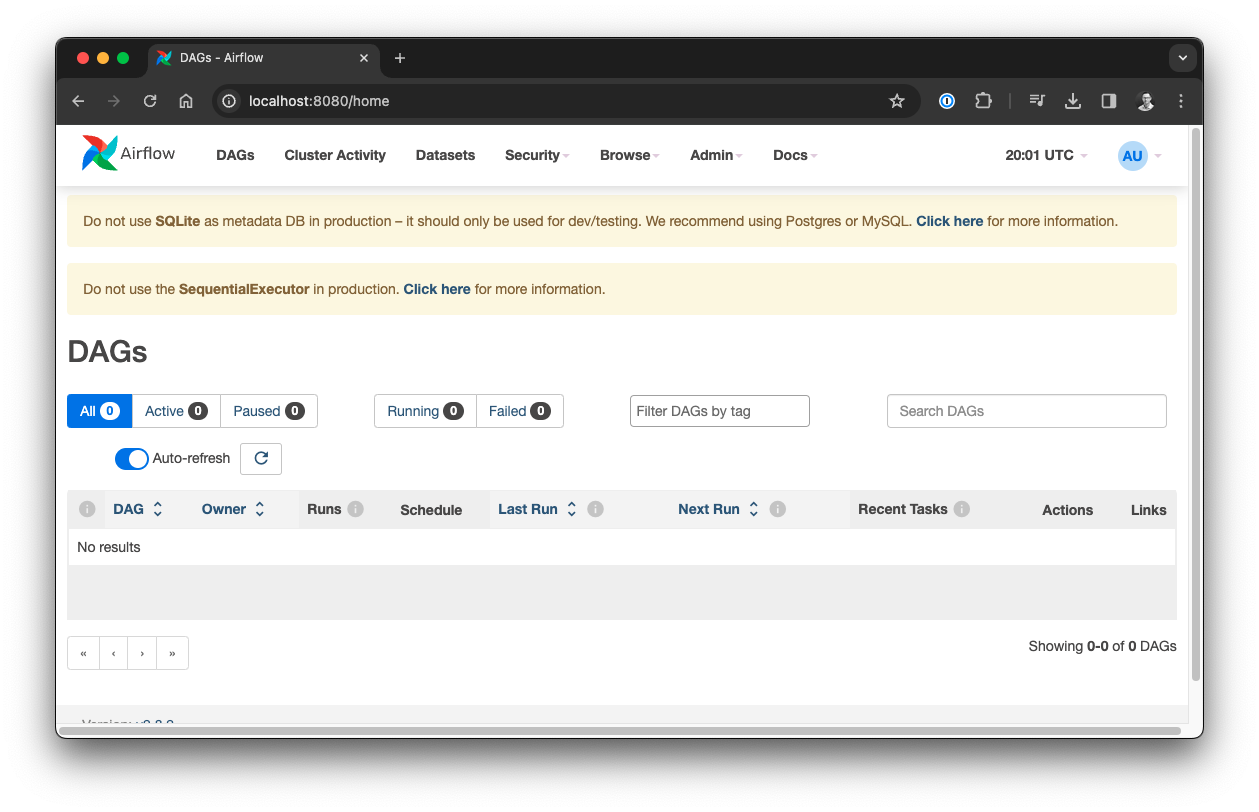
Before we create our DAG, there is one more thing we should adjust. Usually, when we commit our project to Git repository, we do not want to add the airflow folder. First of all because this does not reside in the project folder in the production environment but also because this is our local environment and we want to ensure other developers can setup their own environment accordingly.
Consequently, we would add airflow/ to the .gitignore file. But there is an issue with this approach: per default, Airflow looks for DAGs in a folder called dags within the airflow folder, so: airflow/dags. If we add our DAG implementation to that folder, but ignore the airflow/ folder in our .gitignore file, we can’t commit our code to the repository without workarounds.
Luckily, the solution is simply to change the DAGs folder in the Airflow configuration. To solve this, we will set this variable to a folder called dags within the project folder.
To do so, open airflow/airflow.cfg again, and look for the dags_folder variable. Set it so that it points to a folder called dags in your project folder, for example:
dags_folder = /tmp/airflow-example/dagsFinally, we create the empty dags folder within our project and we are ready to go.
mkdir dags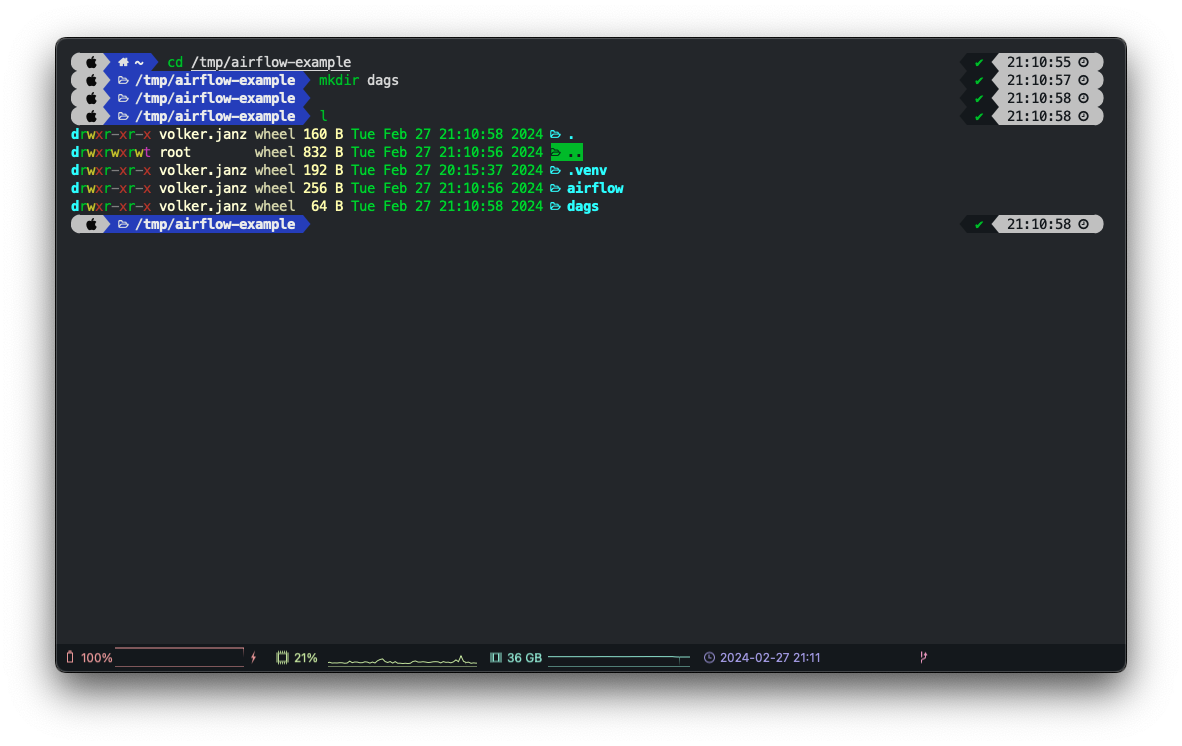
You can now open your project in PyCharm, Visual Studio Code, vim or an other editor / IDE.
Create a new Python file called some_dag.py within the dags folder. Add the following code:
import pendulum
from airflow.decorators import dag, task, task_group


@dag(start_date=pendulum.now())
def some_dag():
    @task
    def some_task_1():
        print("hello world 1")

    @task
    def some_task_2():
        print("hello world 2")

    @task
    def some_task_3():
        print("hello world 3")

    @task_group
    def example_group():
        some_task_2()
        some_task_3()

    some_task_1() >> example_group()


some_dag()
After saving your new DAG, it might take up to 60 seconds before Airflow scans the DAGs folder again to check for new DAGs to be created.
Once your DAG shows up, open it, activate it on the top left (toggle button) and click the run button on the top right. If you open the Graph view, you can extend the group and see a nice visualization of your first DAG run.
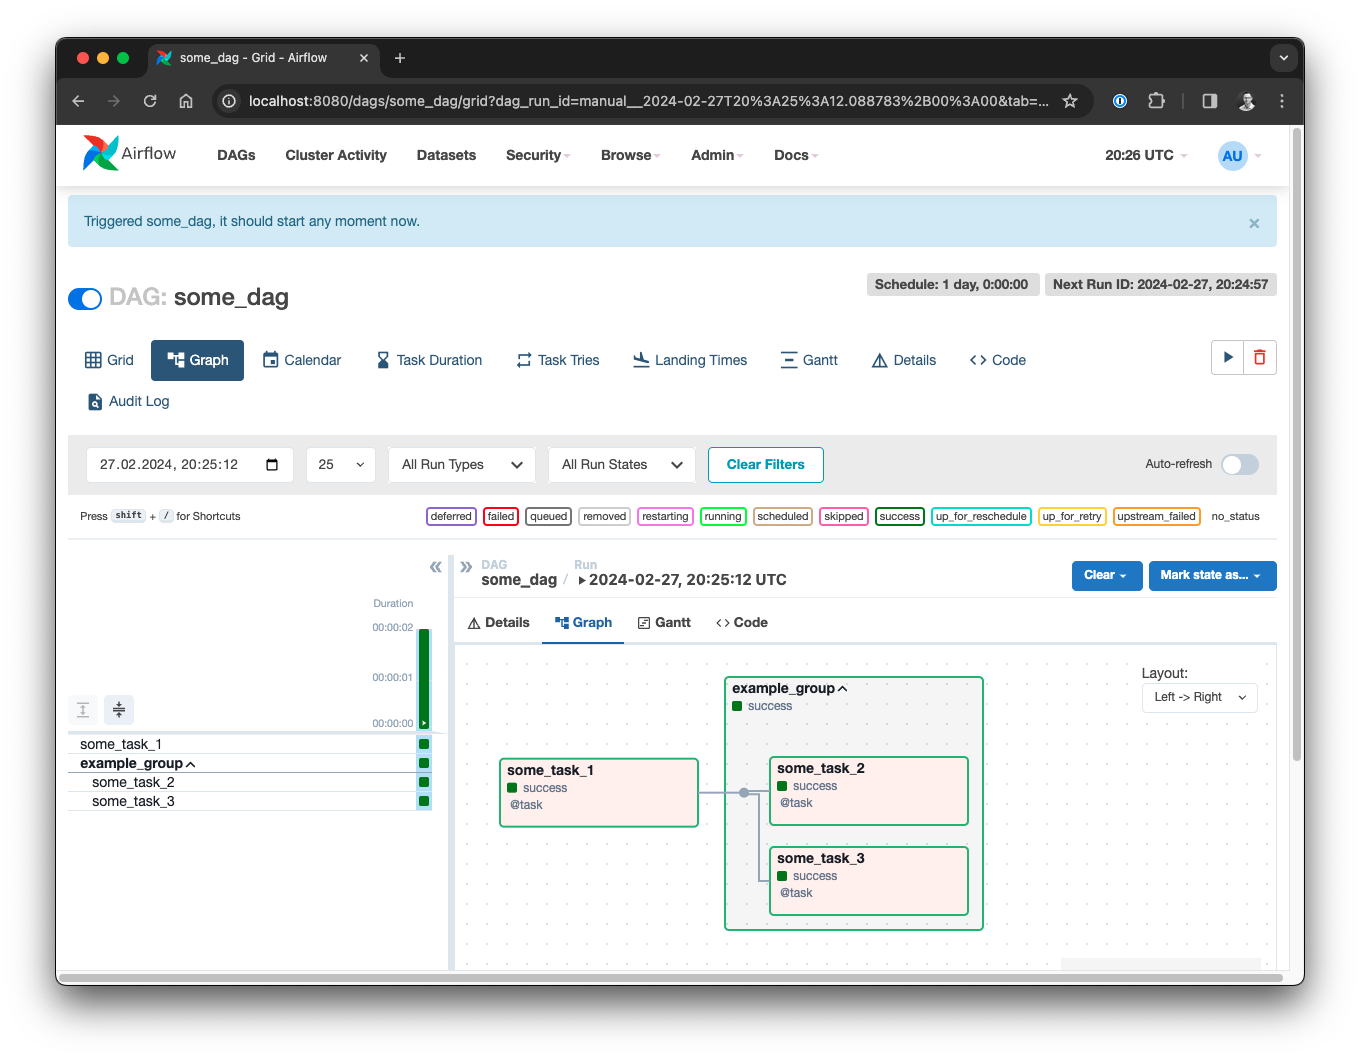
This is an example for a minimal DAG using the TaskFlow API. You can also see the output of the print statements when checking the logs of the individual task runs.
As you can see, we are using Python decorators to define our tasks, a group of tasks as well as the DAG in general. Finally we compose the workflow with the >> operator.
From here, you can follow the TaskFlow documentation from Airflow in order to extend your DAG.
The TaskFlow API is especially helpful for Python heavy workloads, so instead of creating a lot of PythonOperator instances, you can use decorators instead. This will make the code much more readable and “pythonic”. Also, passing data between operators is done naturally with parameters instead of explicitly using the Airflow XComs feature.
If you use other operators, the classic way of writing DAGs might be more readable. However, you can also combine both approaches easily.
To get a better understanding of the various operators and components, you can start with a learning project that uses a simple Extract, Transform, Load (ETL) workflow, by using an open API like:
or similar, use an embedded database like SQLite and implement a DAG that fetches data from the API, transforms it and stores it to tables within the database.
From here, enjoy your Airflow journey!
