


The American Dream ETL - A Data Engineer's O-1A Journey
A personal journey and practical guide from Hamburg to Hollywood
I maintain a folder of bookmarks with interesting frameworks, tools and technologies in general, which I would like to try at some point. One of these is Jekyll, a static site generator which takes text written in a markup language like Markdown and transforms it into appealing websites.
I also planned to renew my personal website for a while already as well as adding a blog, to share thoughts, ideas and stories about my journey as a father, data engineer, software developer, passionate speaker, gym enthusiast and adventurer. It is not like we have a lack of content these days, but I just love to write and share my thoughts, so for me, this is a way to jot down thoughts to clear my mind; one could even consider it a form of therapy. Like my personal /dev/null - and if I can even help or inspire someone with my content, it would be a great side effect.
Therefore, hello world 👋!
Let’s start with some useful content right away. How did I create this page with Jekyll? I am using macOS and this is a short guide on how to get started.
To install Jekyll on macOS, you need a Ruby development environment. While macOS comes preinstalled with Ruby, it is always a good practice to set up an environment, in which you have a nother tool to manage multiple versions, just like pyenv for Python or jenv for Java. The equivalent for Ruby which I recommend is: chruby.
To continue, you also need Homebrew, which is a package manager for macOS to install a wide range of packages.
Install required packages
brew install chruby ruby-install xzInstall ruby
ruby-install ruby 3.1.3Configure shell
echo "source $(brew --prefix)/opt/chruby/share/chruby/chruby.sh" >> ~/.zshrc
echo "source $(brew --prefix)/opt/chruby/share/chruby/auto.sh" >> ~/.zshrc
echo "chruby ruby-3.1.3" >> ~/.zshrc # run 'chruby' to see actual version
If you are not using Z shell, I recommend to switch now 😉. If you still want to use Bash, keep in mind to replace .zshrc with .bash_profile in the commands above.
Relaunch your terminal or source your config, so that the changes are applied.
Install jekyll and bundler
gem install jekyll bundlerGenerate your project
jekyll new myblog
cd myblog
Serve site locally
bundle exec jekyll serve --livereloadWith the --livereload flag, the page refreshes automatically with each change you make.
If you get an error like: cannot load such file -- webrick, simply add webrick explicitly to your Gemfile:
gem 'webrick'And then run:
bundle install
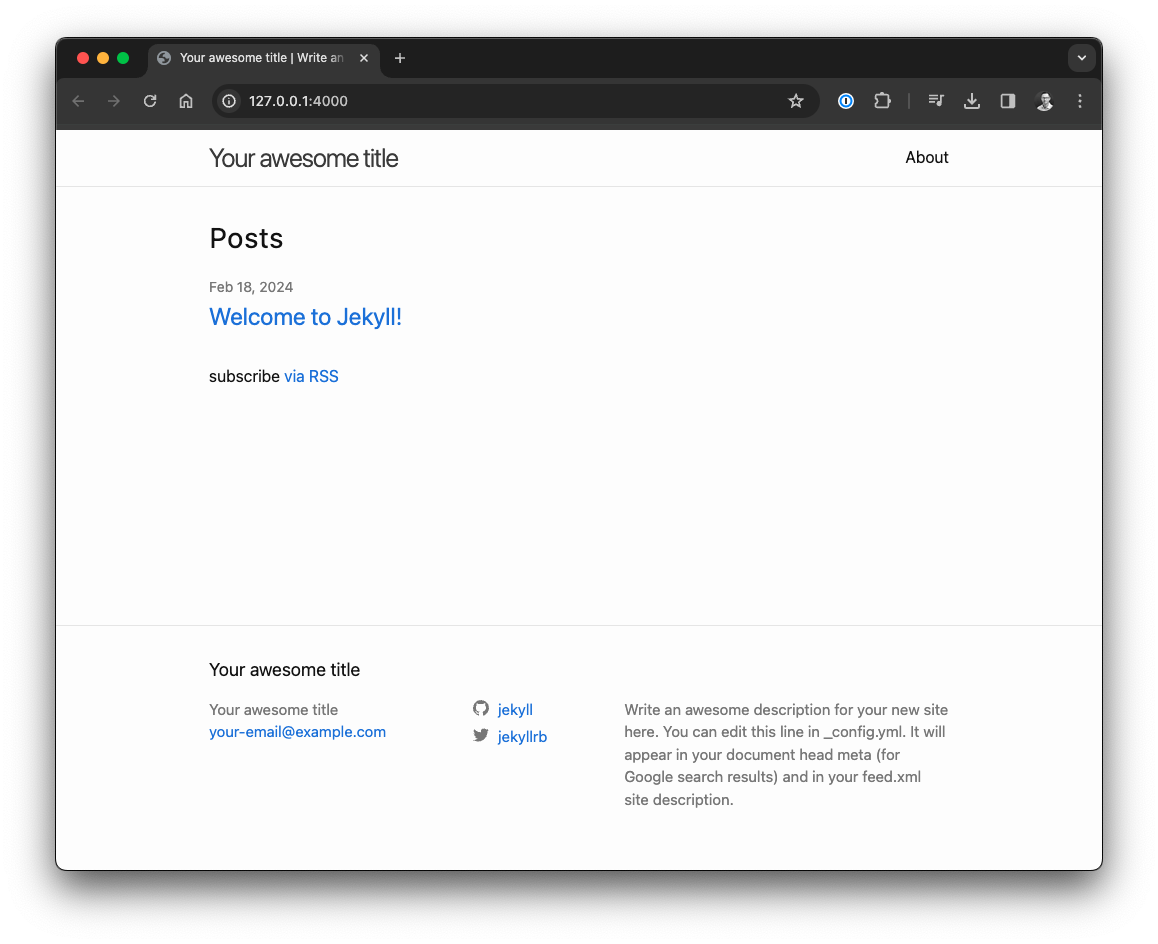
bundle exec jekyll serve --livereloadNow simply open http://localhost:4000 in your browser, and there you go, your first static site with Jekyll is ready.
As a data engineer and software developer for backend systems, I like the approach of working with Markdown a lot. I hope this inspires you to start your own Jekyll project, and if you do so: feel free to reach out and share your results.
A personal journey and practical guide from Hamburg to Hollywood
Effective AI implementation relies not only on the quantity of data but also on technical expertise. Let's explore the significance of having a skilled data team for AI projects, learn about the Small Data movement and examine how far we can go with no-code or low-code AI platforms.
Explore how Netflix Maestro and Apache Airflow, two powerful workflow orchestration tools, can complement each other. Delve into their features, strengths, and use cases to uncover whether they are companions or competitors.


